Are you thinking about starting a blog? Blogging is easier than you think and you can make extra money with it if you choose.
Let’s assume you are ready to go online
Make sure to read How to Start a Blog FIRST for tips before you get started.
My blogging platform of choice is self-hosted WordPress because it is the most professional and functional software for blogging. It requires that you purchase a hosting account. In my step-by-step tutorial below, I will outline how to get your WordPress blog online in as little as 15 minutes using Bluehost as your host.
It’s what I have hosted all my sites on for years. If a Baby Boomer like me can set up a blog, so can you.
Please note that some of the links in the content below are affiliate links. I will receive a small amount of compensation if you choose to purchase a linked product. However, I only include affiliate links on products that I highly recommend.
In just 15 minutes or less, your blog will be online and ready to go
Before proceeding choose your niche and decide on a domain name. I go into that in more detail here.
Register your domain and choose a hosting service
I’ve been using Bluehost to host all my sites for years. When you register you get one domain name (site name) for free. Once that’s done follow the easy instructions below to host and set up your site.
Choose Bluehost Cloud Hosting for a faster website
You can also purchase a domain name on GoDaddy and then point it toward Bluehost. Godaddy also offers a hosting service, but I prefer Bluehost because it isn’t as aggressive in trying to sell you everything under the sun. It is also a better hosting service. However, either works.
Set up your hosting account with Bluehost by clicking here!
Click on Plans and Pricing

Select your shared hosting plan
If you are a beginning blogger and only have 1 site to worry about the Basic Plan is fine to start with if you only need one site. If your traffic increases significantly or you want to add more sites, you can always upgrade to Plus or Choice Plus, which are good options. Prices in the image below are subject to change. Pro is appropriate when you start gaining big traffic.
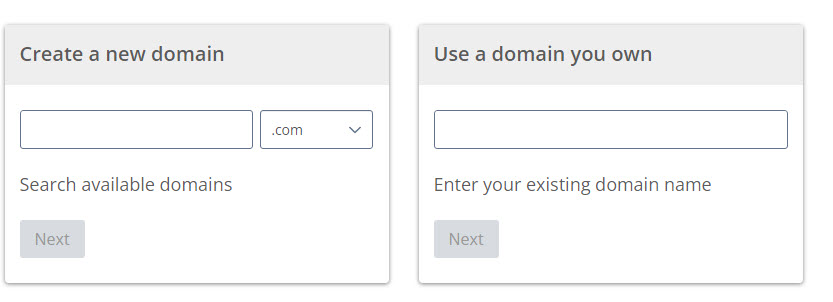
Enter or choose your domain
No matter what plan you decide on once you click select you will be taken to a page to Enter or choose your domain.
If you already have a domain purchased elsewhere, enter it in the second box.
Important – A domain that has been purchased from another provider will need to be pointed to your Bluehost account. Go to your registrar’s account and change the nameservers to:
ns1.BlueHost.com
ns2.BlueHost.com
If that is confusing, call support at the company your domain is at and they will walk you through this process.
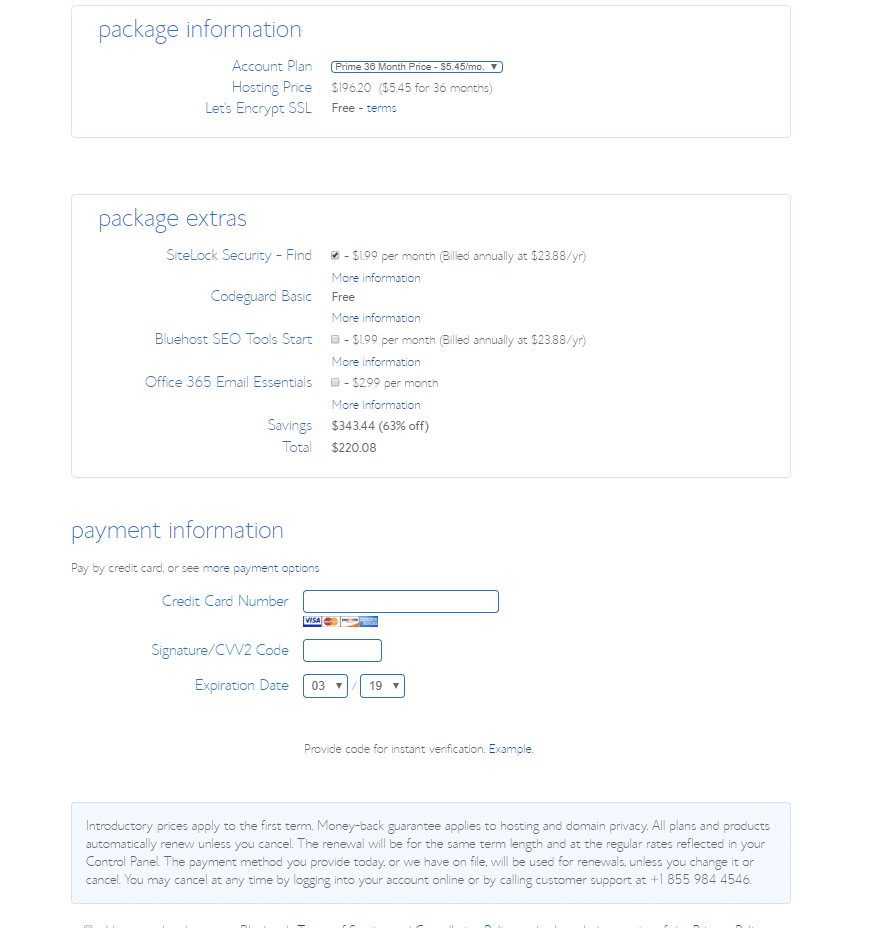
You will then be asked to fill in Your Account Info
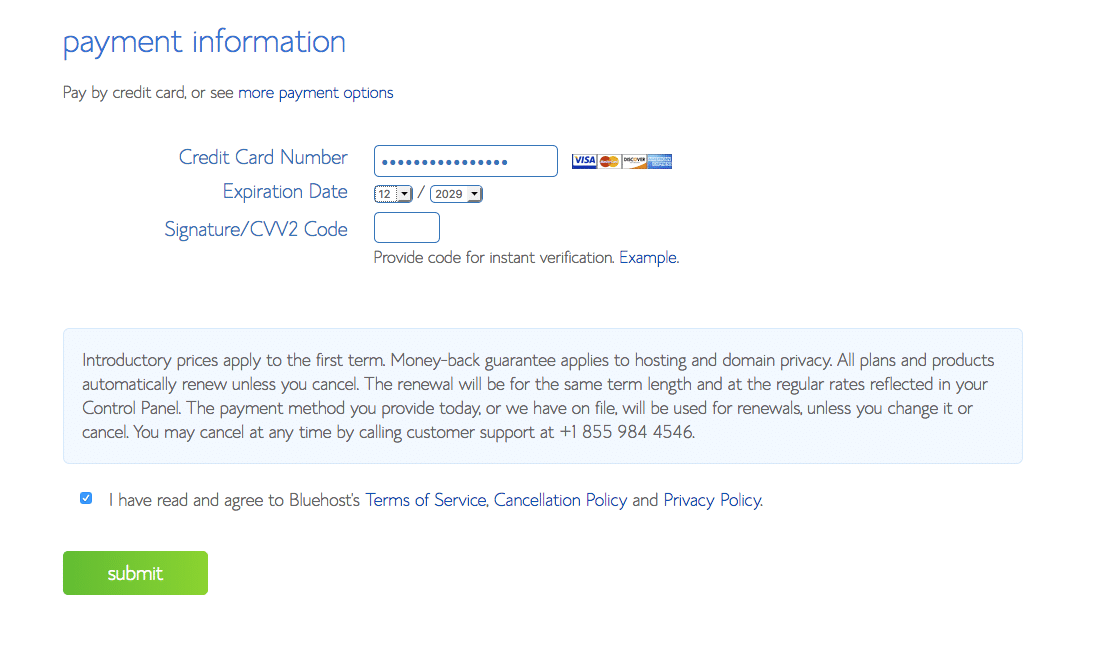
Take out your credit card. The price is stated as monthly but you will be asked to pay for 1 year all at once. Bluehost hosting is affordable and is a business expense that you can write off.
You may only want to purchase one year of hosting when you are just starting out to see how it goes. However, you will save quite a bit of money if you order a 3-year package.
Package extras can be added at any time. I recommend that you ignore them until you find they may be necessary, especially if you are just starting out.
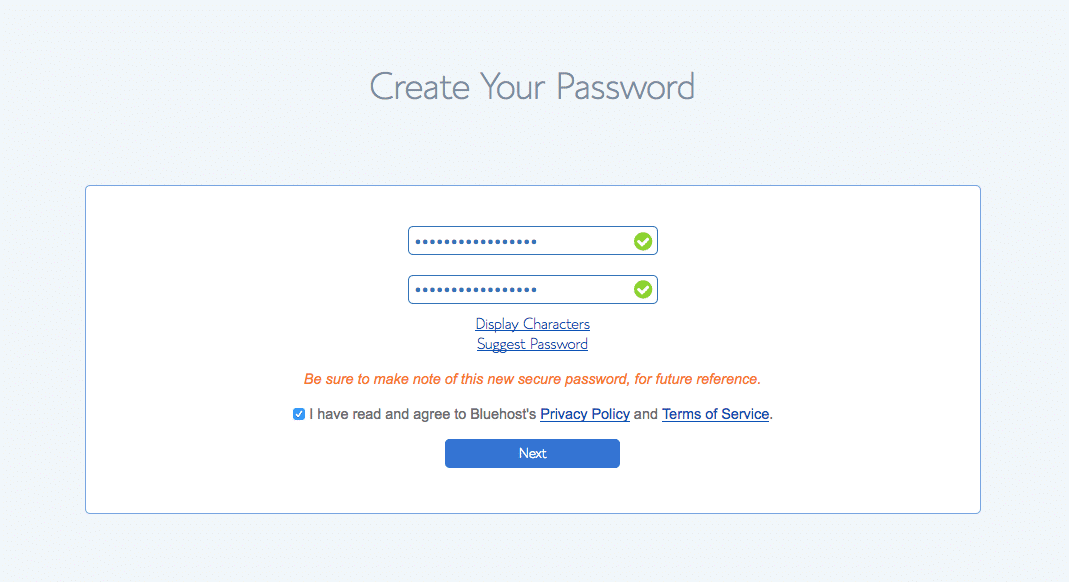
Choose a password
You will then be asked to choose a password. Bluehost will help you with your password strength. If you choose upper and lowercase letters, some numbers, and a symbol, you are usually fine.
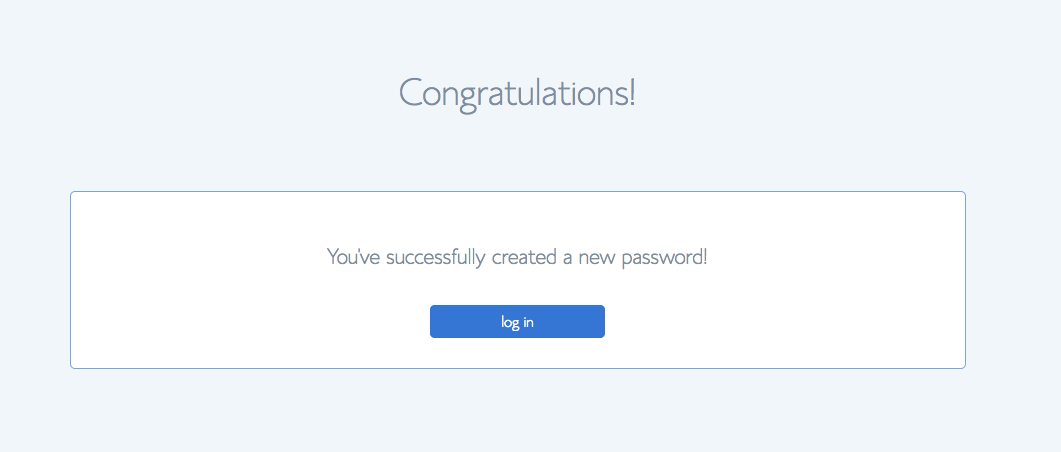
When you click CREATE YOUR PASSWORD, Bluehost will take you to a password generator page. Enter your password there.
Step Five – Login to Your New Account
I hope you wrote down your domain name and password and are storing it someplace safe. Your password is case sensitive so write or type it correctly. When logging in, your domain name should look like mydomain.com (insert your own domain name) and enter your password.
WordPress automatically gets installed on your domain
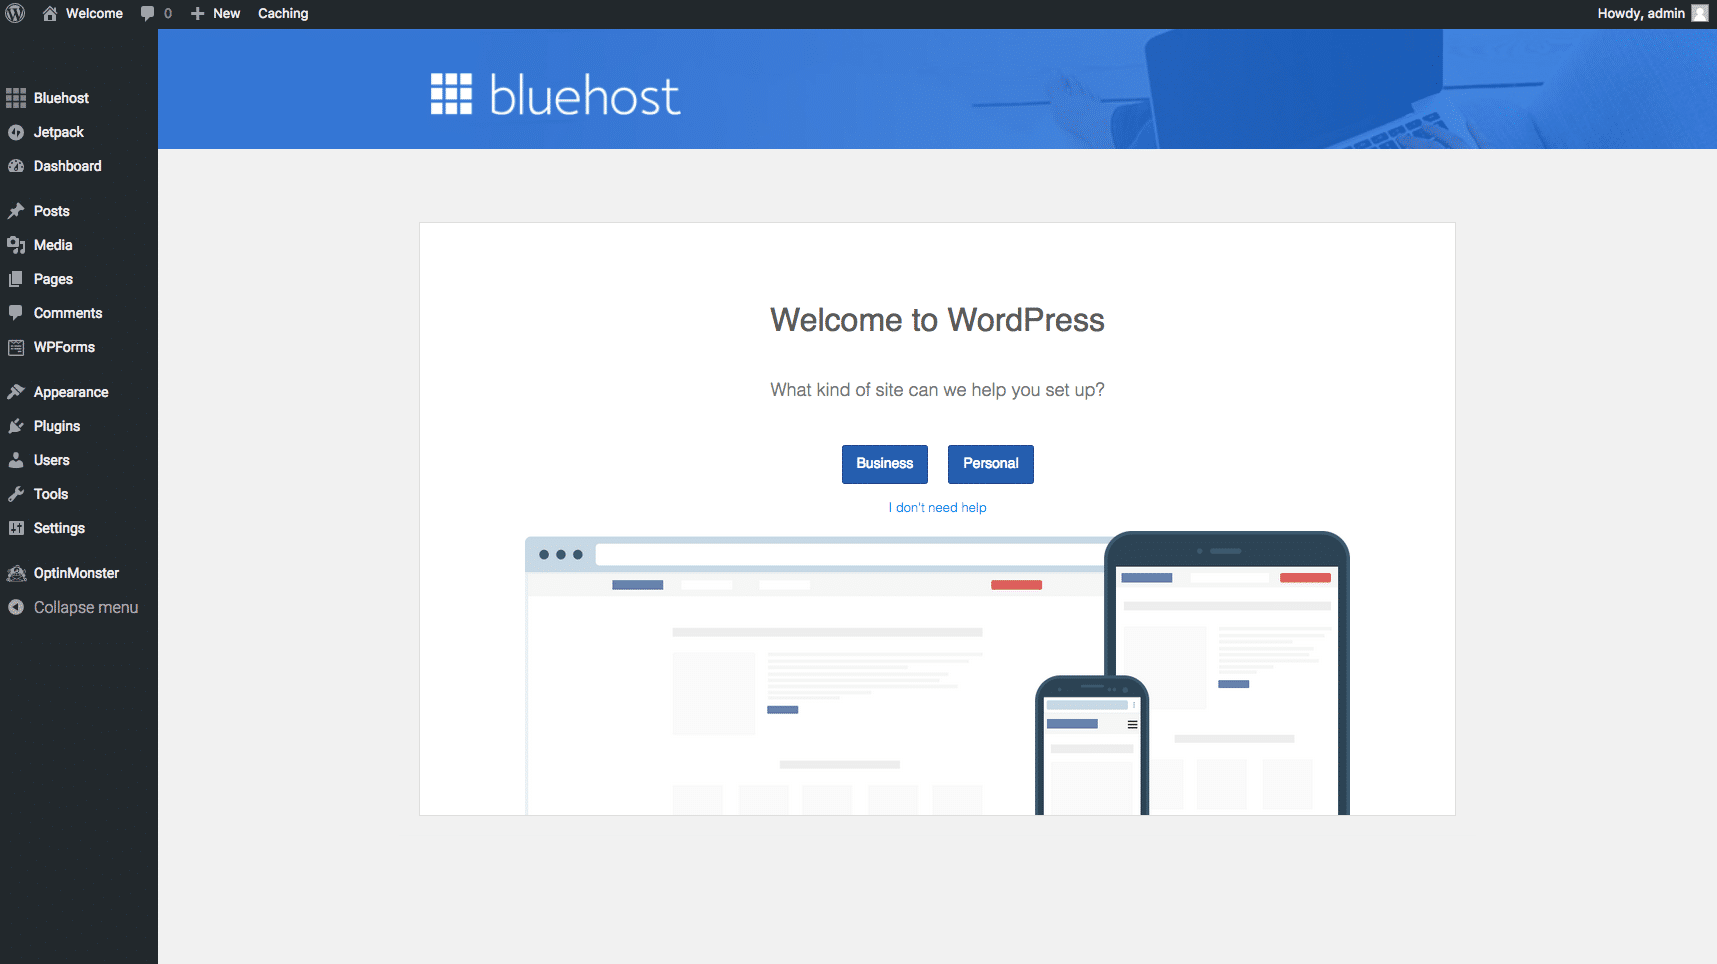
Once you create your account, WordPress will be automatically installed on your domain.
You will be taken to your homepage on Bluehost.
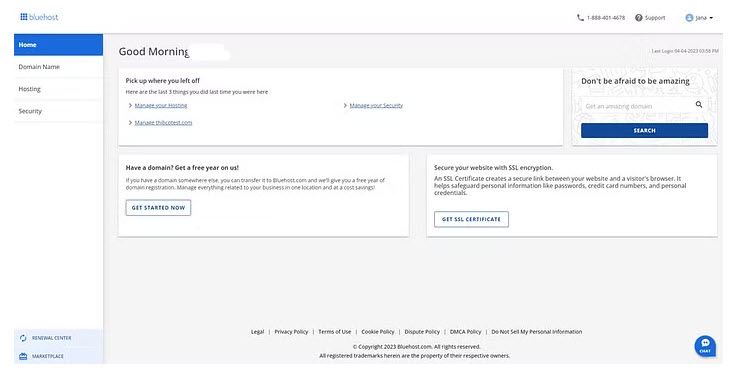
Set up your hosting account with Bluehost by clicking here!
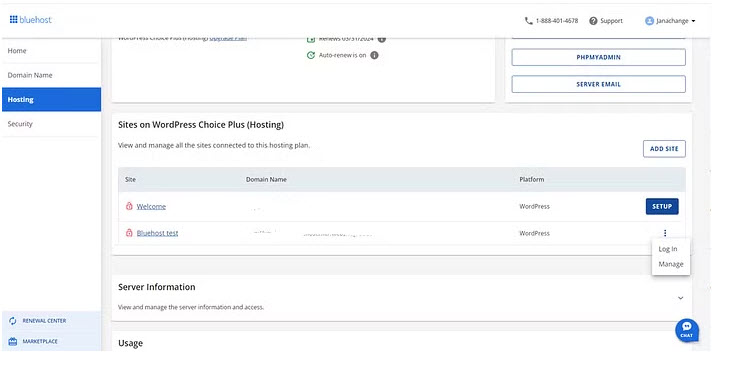
Click on hosting and it will take you to the sites you own.
Click on the three dots to the right of your domain name and it will take you to your WordPress site. You can follow the wizard to complete your setup.
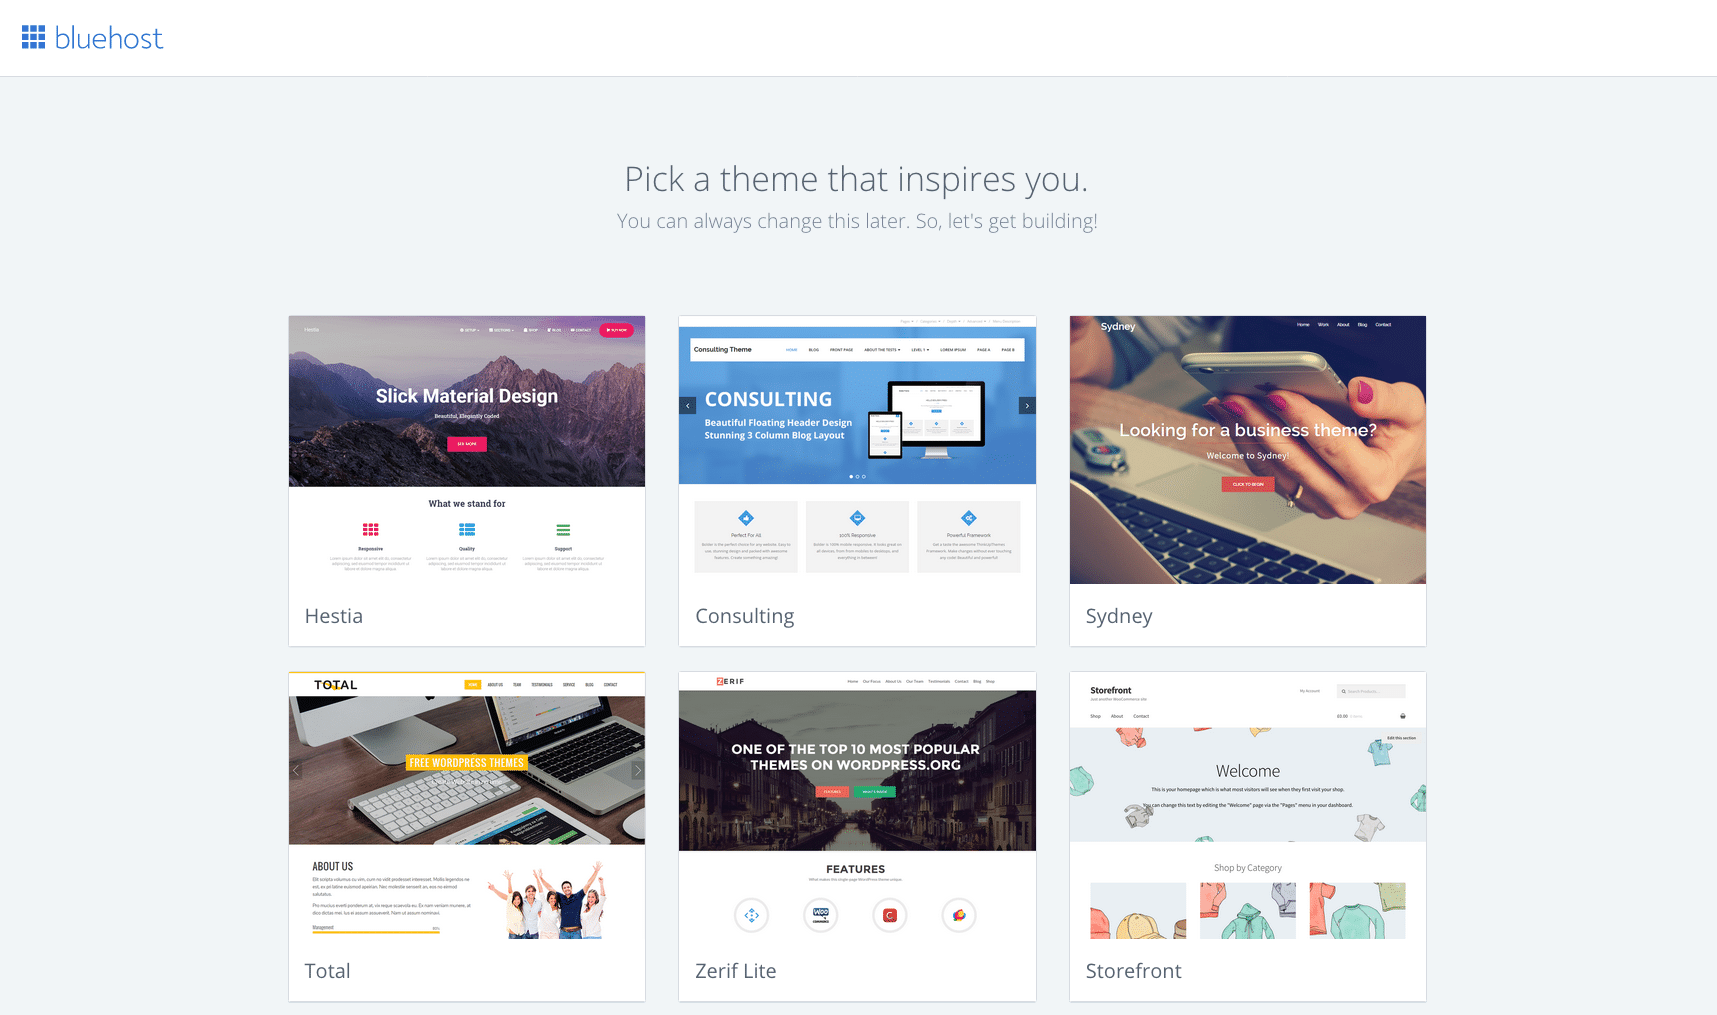
It will ask you to pick out a theme. Please note there are thousands of themes available to choose from and download on the Internet. Many of them are free. Bluehost will suggest some themes that may work for you. Just click to install.
Guess what? You just installed a website all by yourself. Pretty cool, huh?
Final design tweaks
Once your site is set up you will want to adjust the settings and make style changes depending on your needs. You will also want to upload your logo, set up your navigation menu, and add content.
That may require a little help if you have never worked on WordPress. There are YouTube videos that can usually walk you through theme setups. Or, you can find affordable help to set up your site for a few hundred rather than thousands of dollars at sites like Upwork and Fiverr.
For more suggestions on how to jazz up your site, visit my blogging resource page
Disclaimer – Bluehost updates its interface often so if your experience is not exactly as described above, don’t freak out. (they probably made it even better)
Find out more about Blogging
Click on the links below:

